Replacing a starter motor might seem like a difficult task, but with the right knowledge and a little effort, it’s a fairly simple process. The starter motor is crucial in firing your engine, so when it fails, you need to act fast to restore your vehicle’s function. Changing a starter motor typically takes about an hour, and doing it yourself can save you a significant amount of money compared to labor charges that range from $100 to $400.
Before you begin, you’ll need to prepare the necessary parts and tools. It’s important to make sure you understand the steps involved in installing the new starter. Maintaining your vehicle properly by replacing parts like the starter motor when necessary will help prevent future issues and keep your car going smoothly. Luckily, this process works well even for beginners who are learning how to tackle basic car repairs.
How It Works: The Role of a Starter in Your Vehicle
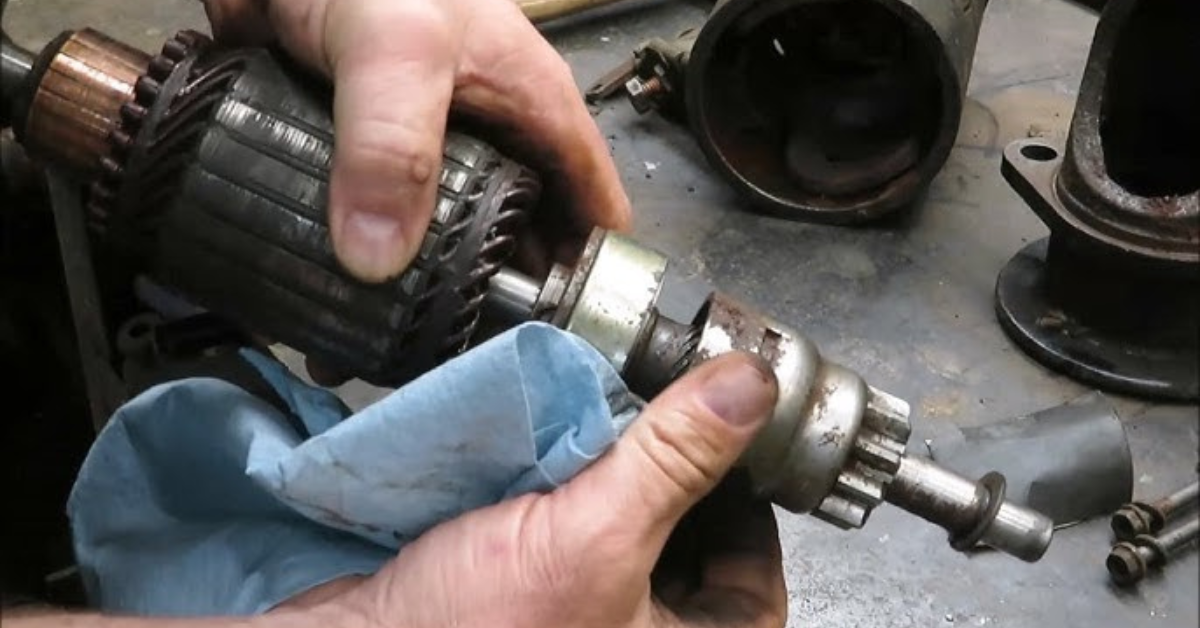
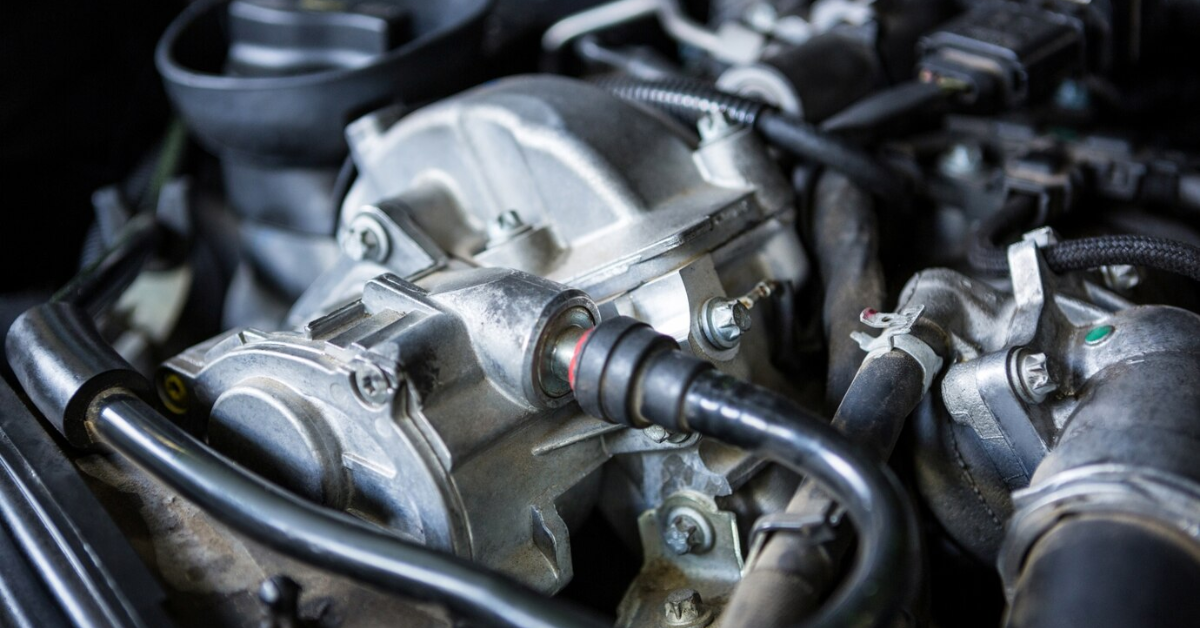
The starter motor plays a crucial role in starting your engine by turning the crankshaft with its high-torque electric motor. It uses 12-volt power from your battery to engage a pinion gear, which connects to the flywheel or flex-plate. This powerful motion helps overcome resistance and initiates the combustion process, allowing the engine to start and run.
When the starter fails, you may notice symptoms like a slower cranking sound, intermittent clicks, or even a burning smell. This happens because parts inside the starter motor wear down over time, leading to issues like grinding noises or a failure to engage. A weakened starter might struggle to turn the engine, leaving you stranded or unable to start your vehicle.
TOOLS AND MATERIALS NEEDED FOR STARTER REPLACEMENT
To replace the starter, you’ll need:
- Socket set and ratchet
- Wrenches
- Torque wrench
- Screwdrivers
- Pry bar
- Creeper or mat
- Pliers
- New starter motor
When working on your car, always use a jack to lift it and place jack stands underneath to keep it secure on the ground. Chock the rear wheels and engage the parking brake to prevent unwanted movement. This ensures you are staying safe and the car remains secure while working.
Step-by-Step Guide to Replacing a Starter
Replacing a starter can vary slightly depending on the design of your vehicle, but the general steps are the same. First, consult your service manual to find the exact process for your car, as each vehicle has its own unique setup. Although the process might look different from car to car, the core idea of installing a new starter remains consistent.
Start by disconnecting the battery and locating the starter. Once removed, you’ll need to install the new one, ensuring all connections are secure. Always double-check your work and make sure everything is in place before reconnecting the battery.
How to Replace a Starter
Step 1: Prepare Your Vehicle
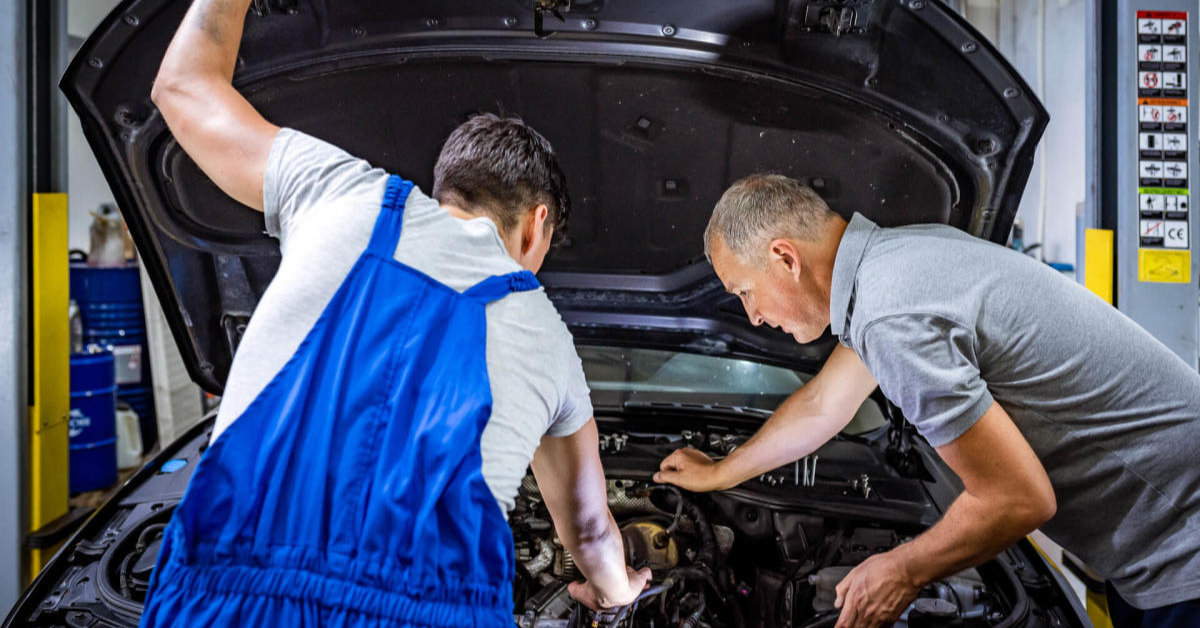
Before starting, make sure the engine is cool. Place the vehicle on a flat, level surface and engage the parking brake to prevent unwanted movement. If necessary, use a jack to lift the vehicle and secure it with jack stands at the designated points to ensure it’s stable and secure.
Remove the wheel if needed for better access to the starter. Always double-check that the car is secure on the ground before proceeding.
Step 2: Disconnect the Battery
To avoid electrical accidents, disconnect the battery by loosening the negative terminal using an appropriately sized wrench. Remove the negative cable completely and slide it to the side to prevent accidental contact.
It’s important to work with the negative terminal first to ensure the electrical system is properly disconnected and safe to work on.
Step 3: Access the Starter
To locate the starter, find the transmission bell housing where the starter is usually mounted. The solenoid will be attached to the starter with a large power wire connected to the positive battery terminal. Depending on the vehicle, you may need to remove additional components, such as skid plates, shields, or exhaust parts, to gain access.
Always refer to your service manual for guidance on the exact location and any additional components that need to be removed to access the starter.
Step 4: Disconnect the Electrical Connections
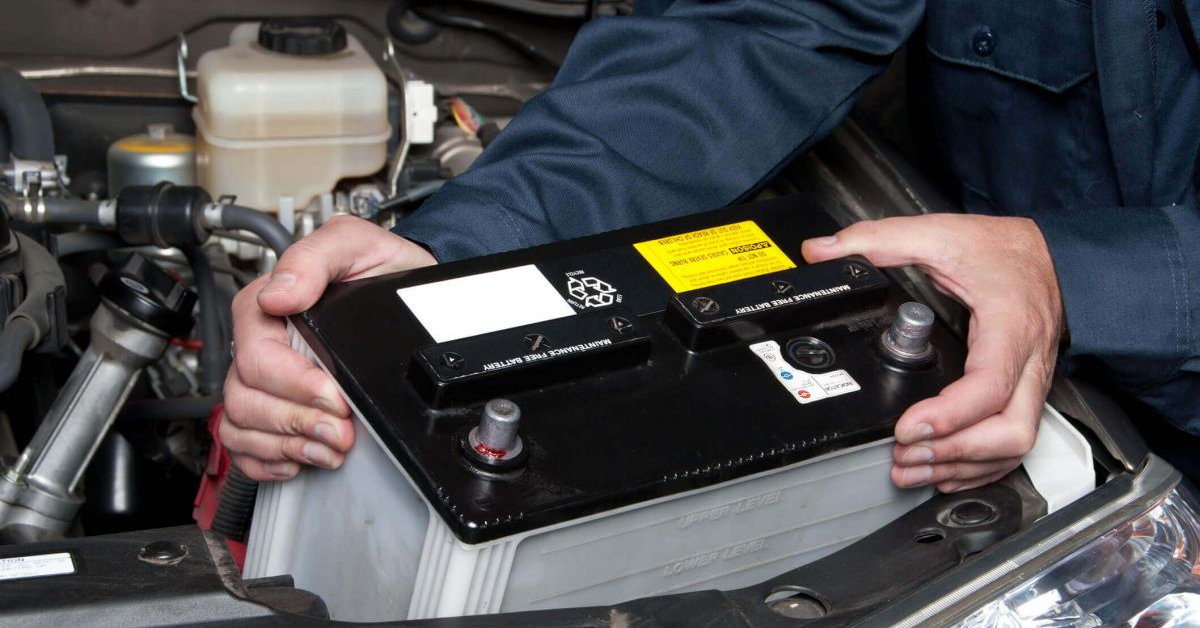
Using the appropriate tools, begin by disconnecting the electrical connections from the starter motor and solenoid. Use a wrench or socket to remove the large-gauge power wire and ignition wire, and carefully unscrew any clips, screws, or bolts. Be sure to safely remove each connection to prevent any damage to the electrical system.
Step 5: Remove the Starter Bolts
To remove the starter, first locate the bolts securing the starter motor to the mounting location. Use a properly sized socket with extensions to reach any tight spaces. Carefully remove the bolts, ensuring you don’t strip them. If necessary, gently wiggle the starter to free it from the mounting points.
Step 6: Install the New Starter
Position the new starter into the bell housing opening, aligning it with the mounting points. Insert the bolts and tighten them to the manufacturer’s torque specifications. Ensure the starter is securely in place before moving on.
Step 7: Reconnect the Electrical Connections
Now, reattach the electrical connections to the new starter motor, including the power, ignition, and ground wires. Double-check each connection to ensure they are secure and properly attached to the correct terminals.
Step 8: Reconnect the Battery
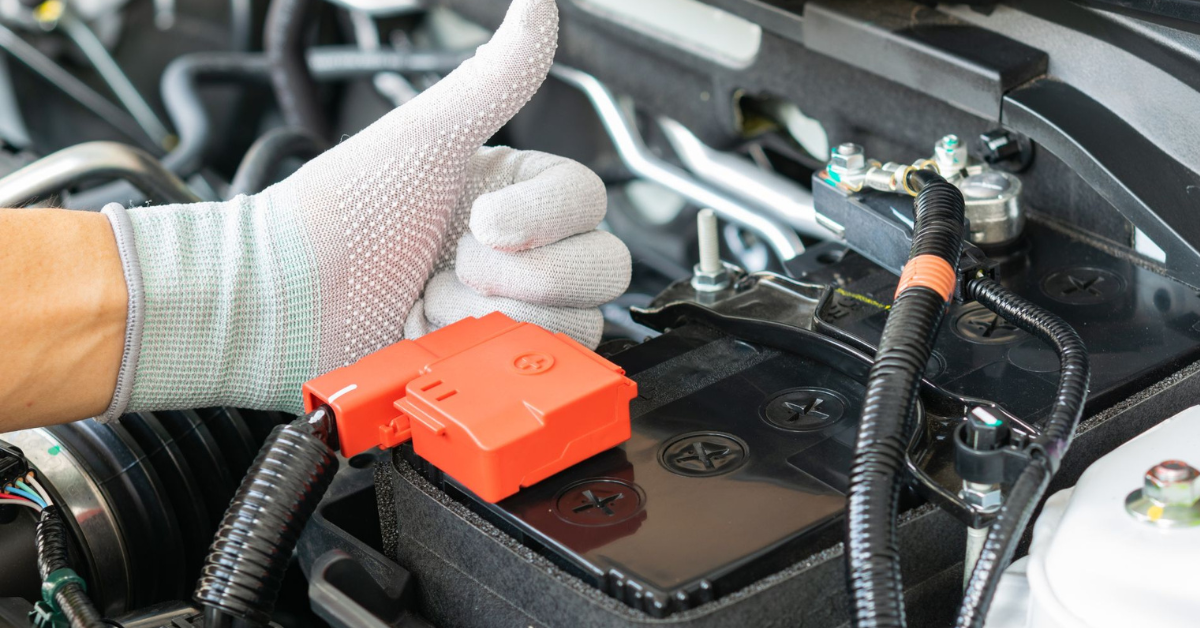
Finally, reconnect the negative cable to the battery terminal and tighten it with a wrench. Test the starter by turning the ignition key or pressing the start button to ensure it is functioning properly and the engine is turning over as expected.
Testing the New Starter
Once the installation is complete, begin by lowering the vehicle and ensuring it is securely on the ground. Turn the key to start the engine and check if the starter successfully cranks the engine. If the engine turns over, it indicates that the starter is functioning properly. However, if the engine cranks slowly, the battery may have a low charge, or there could be an issue with the electrical power.
If the starter doesn’t engage or you hear a grinding sound, this could mean the flywheel is misaligned or the flywheel teeth are damaged. In such cases, recheck the installation of the starter and inspect for any issues with the fuses, relays, or electrical continuity. If the problem persists, further diagnosis of the starter or fuel supply may be necessary.
Read More:
How Long To Pull Vacuum on Car AC System?
How do I Permanently Disable Anti Theft System
Diagnosing a Bad Starter
Listen to the Vehicle
When attempting to start the vehicle, turn the key and pay attention to any unusual sounds. A faint clicking noise could indicate an issue with the electric motor or power not reaching the starter to turn over the engine. If you hear this, it could mean the starter is failing or not receiving enough power.
Ensure the Battery Terminals are Clean and Secure
Check the battery terminals to make sure they are clean and the cables are securely connected. Corroded terminals can prevent proper power flow to the starter, leading to starting issues. Use a steel brush to clean the terminals, and always wear gloves to protect yourself from battery acid during this process.
Charge Your Vehicle’s Battery
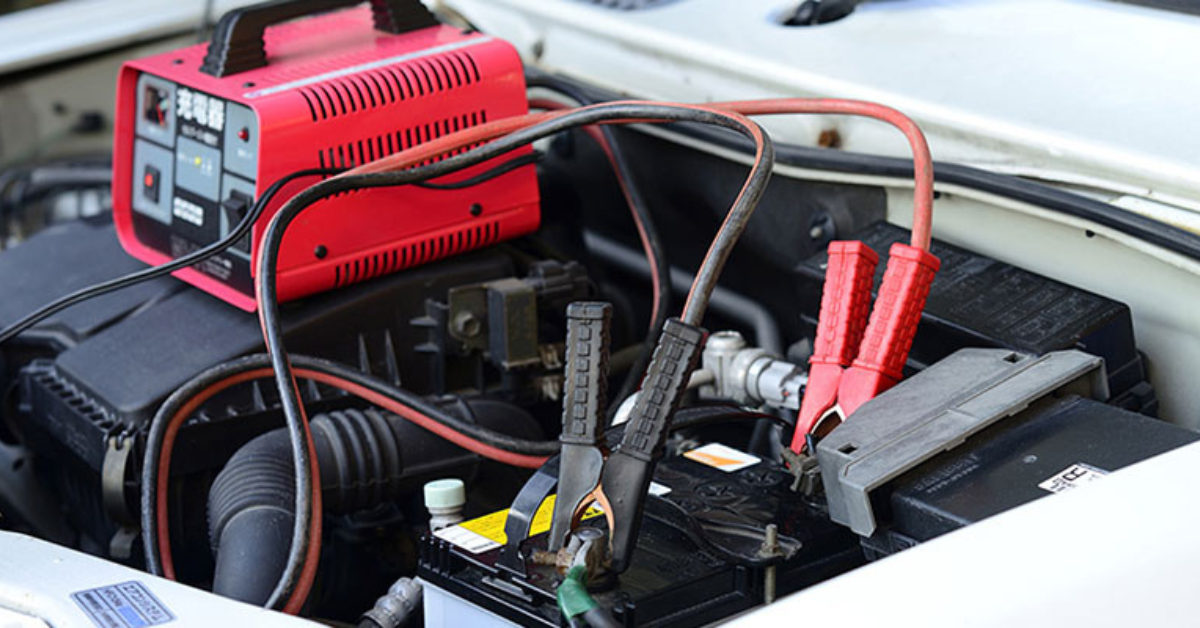
If your battery is low on power, use a trickle charger or jump start your vehicle. Connect the red positive cable to the positive terminal, and the black negative cable to a ground. Ensure that the battery is fully charged before attempting to start the engine again.
Check the Starter Solenoid
The starter solenoid is responsible for transferring electricity to the starter motor. If it’s malfunctioning, it could prevent the vehicle from starting. To test it, check if it’s receiving power when the ignition is turned on. If the solenoid is dead, the battery might also be faulty, requiring further testing.
Tips for Maintaining Your Vehicle’s Starter
To extend the life of your starter, keep the battery in good condition and avoid slow cranking. Regularly clean the connections to prevent corrosion and ensure that oil leaks don’t contaminate the motor. If you notice any issues, don’t hesitate to seek professional help from a qualified mechanic or visit a trusted shop like AutoZone. Early attention to small problems can help you avoid more significant repairs down the road.
FAQS
What are the signs that my starter needs to be replaced?
Common signs include clicking or grinding noises, slow cranking, and the engine not starting despite turning the key. If the starter is not engaging, it may need replacement.
Can I replace a starter myself, or do I need a professional?
If you’re comfortable working with vehicle electrical systems and have the right tools, you can replace the starter yourself. However, if the installation is complex or you’re unsure, it’s best to seek a professional mechanic.
How long does it take to replace a starter?
Replacing a starter generally takes around an hour to a couple of hours, depending on your vehicle. Some replacements may take more time if the starter is harder to access.
What tools do I need to replace a starter?
You will need a selection of tools including hand screwdrivers, pliers, a ratchet and socket set, and a torque wrench. Wrenches will also be necessary to tighten bolts securely.
How much does it cost to replace a starter?
The cost of starter motors typically ranges from $100 to $400, not including labor charges. The total cost can vary based on the vehicle and starter brand.

Mian Hashir is a passionate automotive enthusiast and the lead author at Car Garagee, a website dedicated to providing in-depth car reviews, maintenance tips, and the latest news in the automotive world. With years of experience in the industry, Hashir combines his technical knowledge with a love for cars to deliver insightful and engaging content. Whether you’re a car owner or a curious reader, Mian Hashir’s articles help readers make informed decisions, from choosing the right vehicle to understanding how to keep it in top condition.

