
When it comes to maintaining your Honda, ensuring that it operates well for many years is a top priority. The A17 service is an essential part of this process, focusing on the core tasks that keep your vehicle running smoothly. Through Honda’s advanced Maintenance Minder system, your car will monitor its own condition and send you an alert when it’s time for specific services such as oil change, tire rotation, and a comprehensive inspection. These regular maintenance tasks are designed not only to keep the car in feasible condition but also to prevent unexpected repairs, allowing you to avoid costly issues down the road.
In this article, we’ll explain everything you need to know about keeping your Honda in top shape with the A17 maintenance service.
What is a Honda A17 Service?
The Honda A17 Service is part of Honda’s advanced Maintenance Minder system that helps owners take care of their vehicle by providing timely reminders for servicing tasks. This system uses a combination of codes, numbers, and letters to alert the driver about specific tasks, such as oil change, tire rotation, and brake fluid replacement.
For example, a main code like “A” may appear alongside a sub-code like “17” to indicate a task that needs attention. It’s a modern way to keep your vehicle in top condition, designed to remind you when it’s time for servicing based on the vehicle’s usage. Oil filter changes, brake fluid replacement, and tire rotations are commonly part of this service.
These reminders typically pop up on the display after you’ve driven a certain distance, like 20,000 miles, helping you follow the recommended maintenance procedure. As an experienced professional in the field, I’ve seen the minder codes make a huge difference for Honda drivers, like those with the CRV, Pilot, Accord, Odyssey, or Civic. When the service code appears, it signals that your vehicle is ready for essential maintenance, and tasks like checking the tires, adjusting pressure, or even bleeding the brake fluid may be necessary.
Checklist included in Honda “A17 Service”
1. Oil Change/Oil Filter Change
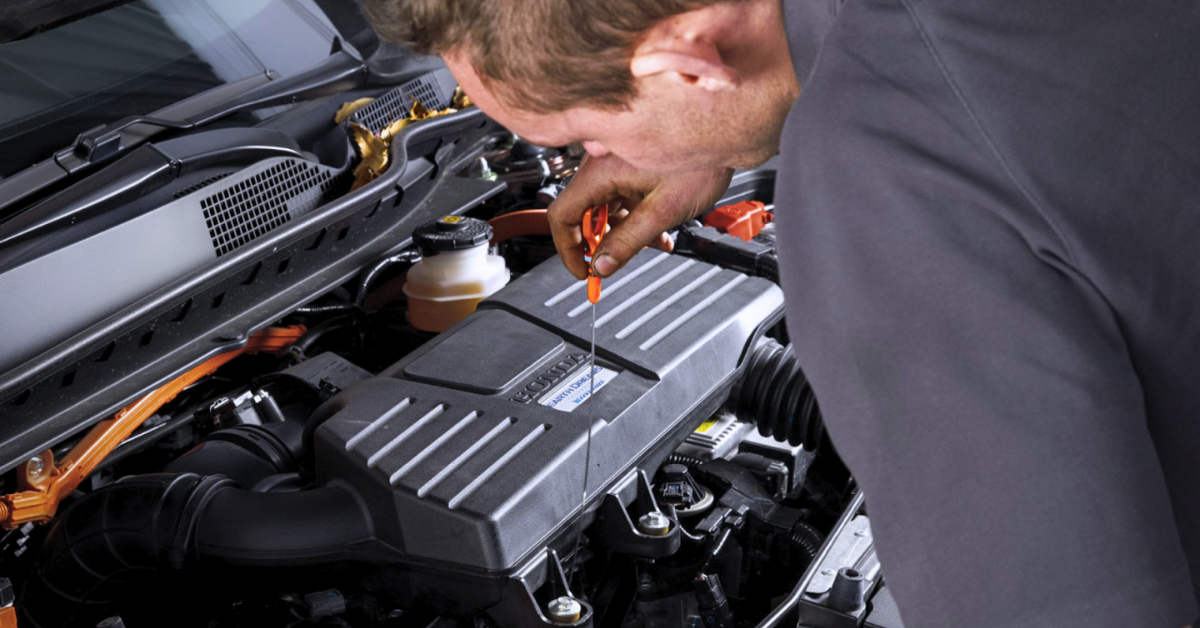
One of the most important tasks in the Honda A17 Service is the oil change and oil filter change. Regular oil changes help keep your engine running smoothly by lubricating the moving parts, reducing wear, and preventing strain on the engine. Over time, engine oil can become unclean and polluted, losing its ability to cool and clean the engine.
This is why it’s essential to replace both the oil filter and the oil at the recommended intervals, which for most vehicles is around 7,500 miles or 6 months, but this can vary depending on your model and engine type. If you use synthetic oil, the oil change may be needed every 10,000 miles, but for non-synthetic or conventional oil, you may need it at 5,000 miles.
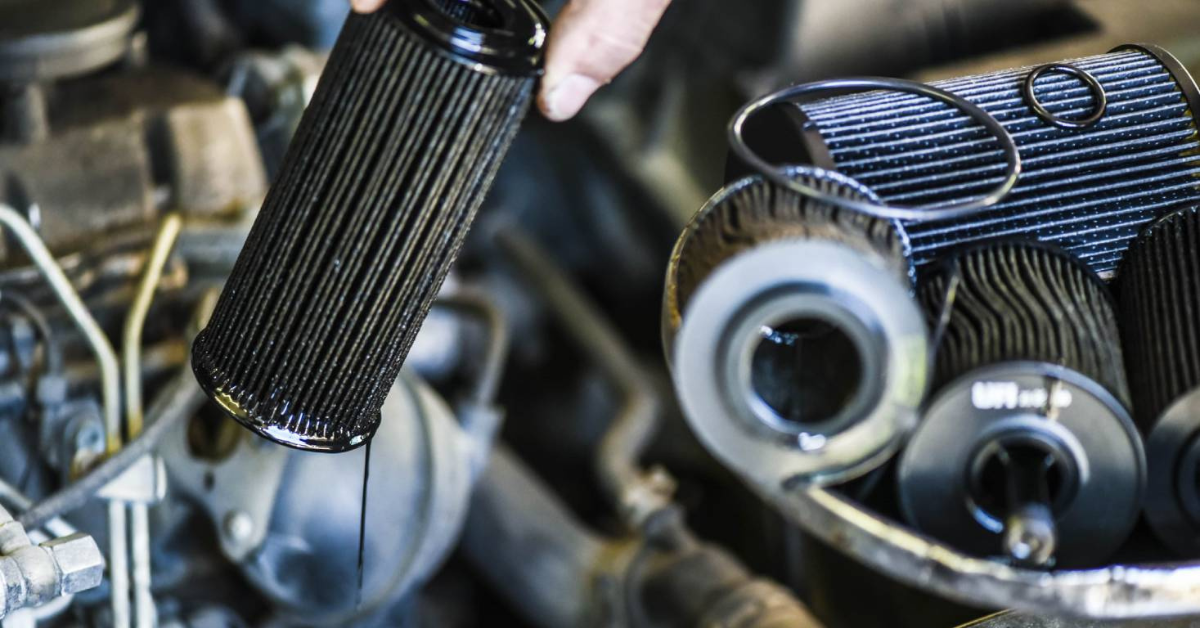
The oil filter plays a crucial role in eliminating debris and impurities, keeping the engine in good condition and extending its lifespan. Always follow your Honda’s recommended intervals for the best performance and to avoid unnecessary damage.
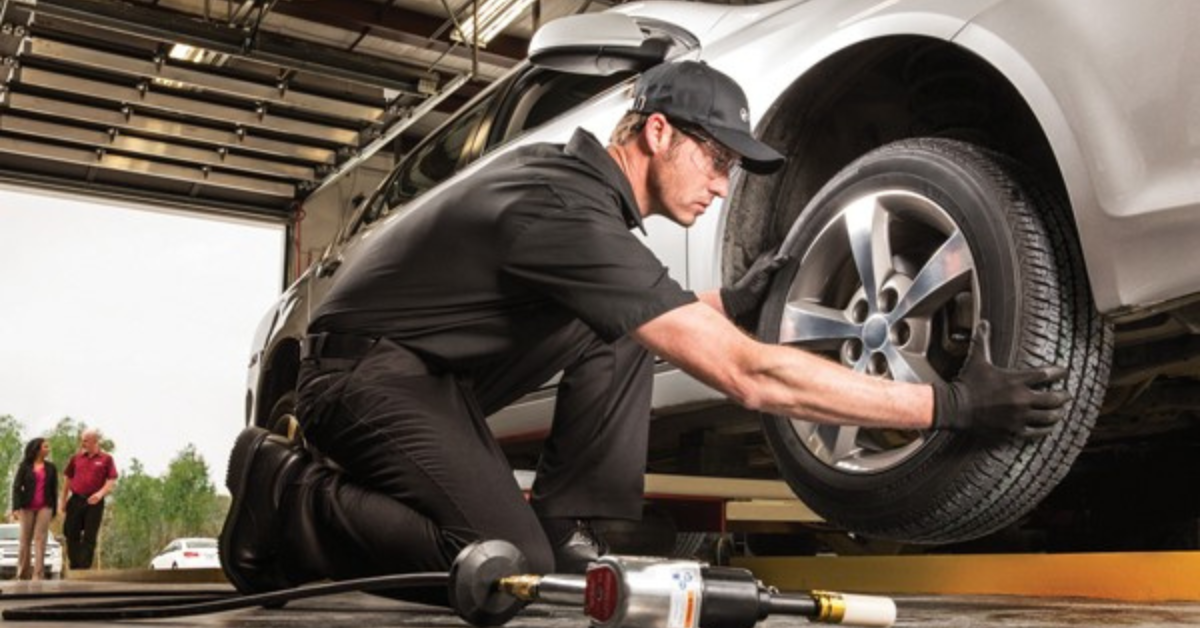
2. Tire Rotation:
Another essential part of the Honda A17 Service is the tire rotation, which helps to ensure that your tires wear evenly and your vehicle performs optimally. Regular tire rotation helps to balance the wear caused by different driving habits, road surfaces, and the vehicle’s drive train. For example, with front-wheel-drive (FWD) vehicles, the front wheels typically bear more weight and wear faster, so rotating the tires to different positions, such as using the X-pattern or forward cross, helps ensure that all tires wear at similar rates.
Rear-wheel-drive (RWD) and all-wheel-drive (AWD) vehicles may require a different pattern, like a rearward cross, to maintain even wear. In addition to optimizing tire performance, tire rotations help prevent punctures, bursts, and extend the lifespan of your tires. Directional tires may need to follow the correct rotation direction, so it’s important to follow your vehicle’s recommended intervals, which are typically 5,000 to 7,500 miles.
If you have non-directional tires, the rotation can be more straightforward, but you still want to swap the tires regularly to avoid uneven wear. A professional should always perform the tire rotation to ensure it’s done correctly and keeps your tires in optimal condition, avoiding unnecessary damage and improving safety.
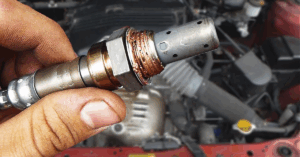
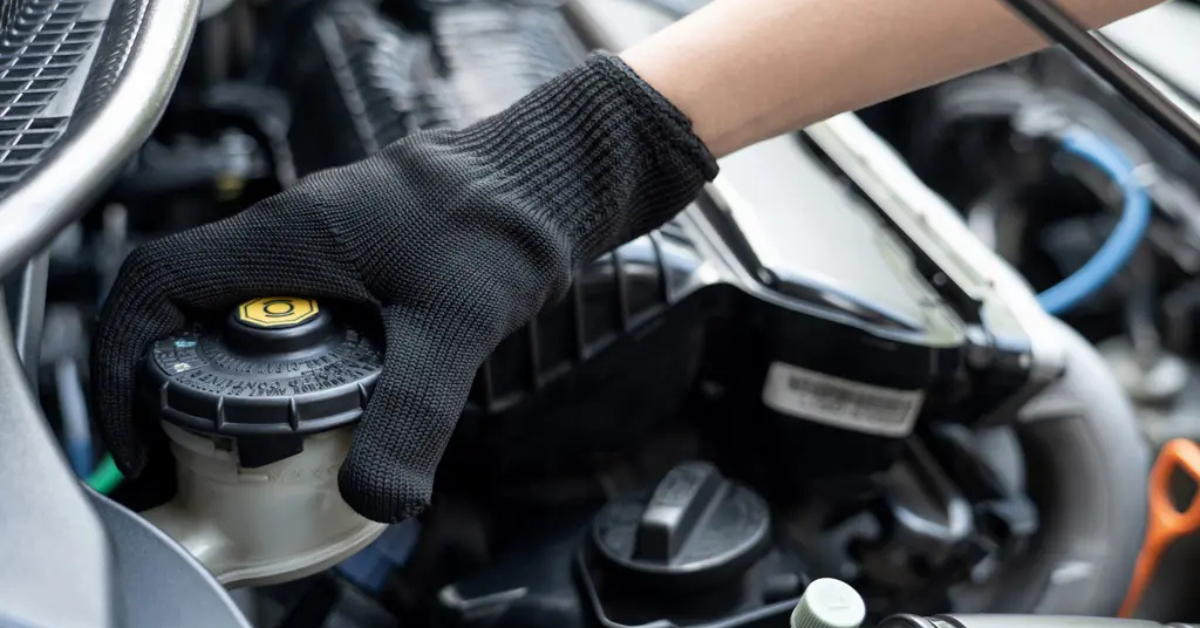
3. Brake Fluid Replacement
Brake fluid replacement is a vital part of the Honda A17 Service that ensures your braking system operates efficiently and safely. Over time, moisture and air can contaminate brake fluid, leading to corrosion of important components such as brake pads and rotors.
As an experienced professional, I’ve observed that when brake fluid becomes contaminated, it can reduce the system’s stopping power and performance. The service involves draining the old, contaminated fluid, flushing the system, and replacing it with fresh fluid. This not only helps eliminate trapped air but also protects the system from further corrosion.
Regular brake fluid replacement is typically recommended every 30,000 miles or 3 years, although the interval can vary based on your driving habits and the specific model of your Honda. The sub-code “7” on your Honda A17 Service reminder signals that it’s time for this important maintenance. Performing this service ensures that your brake system remains in top condition, maintaining optimal performance and safety.
Importance of A17 Service:
The A17 Service is crucial for the long-term health of your vehicle, as it helps prevent minor issues from turning into major problems. Neglecting regular maintenance tasks like oil changes, rotating tires, and replacing brakes can lead to expensive repairs and the risk of your vehicle breaking down unexpectedly.
Engine wear can increase prematurely if engine oil is not changed on time, and ignoring tasks from your maintenance minder can escalate into significant safety hazards. Many people tend to put these services on the back burner, but they are essential for maintaining optimal performance and avoiding costly repairs.
As someone who has seen firsthand the consequences of delaying these tasks, I can tell you it’s always wise to address them before they develop into bigger issues, saving both time and money. The A17 Service reminder on your dash is there for a reason – don’t ignore it!
Read More:
P0128 Code: [Coolant Temperature Below Thermostat …]
3.6 Dodge Firing Order: [What It Means & Why Its Important]
What is the Honda A1 Service? [ Checklist & Service Cost]
Honda A17 Service Interval
The Honda A17 Service Interval is designed to help you maintain your vehicle by notifying you when it’s time for essential maintenance. Based on your driving habits and mileage, this service typically occurs around 20,000 to 35,000 miles or 2 to 5 years, but can vary depending on your Honda model. When the maintenance minder system detects the need for specific tasks, it will trigger a warning light or notification on your dashboard.
| Honda Service Code | Maintenance Task | When to Perform This Task | Why It Matters |
|---|---|---|---|
| A | Oil Change | Conventional Oil: 5,000–7,500 Miles or 6 Months Synthetic Oil: 7,500–10,000 Miles or 6–12 Months |
Keeps engine smooth, prevents excessive wear and expensive repairs. |
| A | Oil Filter Replacement | Every 20,000 Miles or 6–12 Months | Filters contaminants, keeping oil clean and engine efficient. |
| 1 | Tire Rotation | Every 5,000–7,500 Miles or 6 Months (FWD/RWD) Every 3,000–5,000 Miles or 6 Months (AWD) |
Ensures even tire wear, improving safety and extending tire life. |
| 7 | Brake Fluid Replacement | Every 30,000 Miles or 3 Years (if minder code “7” hasn’t appeared sooner) | Maintains safe braking, prevents corrosion and moisture build-up. |
How much does a Honda A17 service cost?
The cost for a Honda A17 service typically falls between $150 and $300, but this can vary based on your Honda’s model, the tasks required, and the shop or dealership you choose. From my professional experience, an oil and filter change generally costs around $70, although upgrading to synthetic motor oil instead of conventional oil can add another $20 to $40.
Additional maintenance like a tire rotation with pressure checks usually costs $21 to $62, while a brake fluid replacement or brake flush can range from $90 to $200. Prices also differ by area, with dealerships often charging slightly more than independent shops.
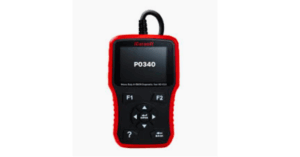
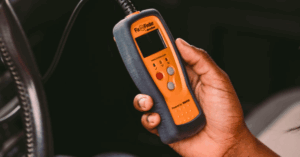
How do you reset the Honda A17 service?
FAQS
What is A17 service for Honda?
The Honda A17 service code means your vehicle needs three main tasks: changing the engine oil and filter, rotating the tires (including checking their pressure and condition), and replacing the brake fluid. Following this maintenance, based on my professional experience, ensures your Honda runs safely and efficiently.
What is a brake fluid flush?
A brake fluid flush involves removing old, contaminated brake fluid from your car’s braking system and replacing it with brand-new fluid. Over time, brake fluid becomes susceptible to accumulating moisture, dirt, and debris, which negatively impacts the braking system’s efficacy and overall functionality. Regular flushes help maintain reliable braking performance.
How to clear Honda radio code?
If your Honda radio is locked, clearing the code involves turning the ignition switch or pressing the start button to set your vehicle into the auxiliary position. Then, using one hand, press and hold radio buttons one and six together, while using your free hand to turn on the radio. This typically resets the locked radio.
How to clear Honda brake warning code?
A brake-related Honda code usually appears when the brake fluid is dirty, contaminated, or low, causing symptoms like a soft brake pedal, a sinking or quicksand feel, or strange sounds. Resolving this concern involves addressing the brake fluid issue—by topping up or replacing the fluid—which will clear the brake warning.
How to refill brake fluid?
To safely add brake fluid, first confirm the fluid level is between the MIN line and MAX line on the reservoir. Carefully pry open the reservoir cap, and slowly add fluid until it reaches slightly below the MAX line. Be careful not to overfill to avoid potential braking issues.

Mian Hashir is a passionate automotive enthusiast and the lead author at Car Garagee, a website dedicated to providing in-depth car reviews, maintenance tips, and the latest news in the automotive world. With years of experience in the industry, Hashir combines his technical knowledge with a love for cars to deliver insightful and engaging content. Whether you’re a car owner or a curious reader, Mian Hashir’s articles help readers make informed decisions, from choosing the right vehicle to understanding how to keep it in top condition.